I grew up with peanut butter cookies, but making them with Crisco takes me right back to the ones my family baked when I was little.
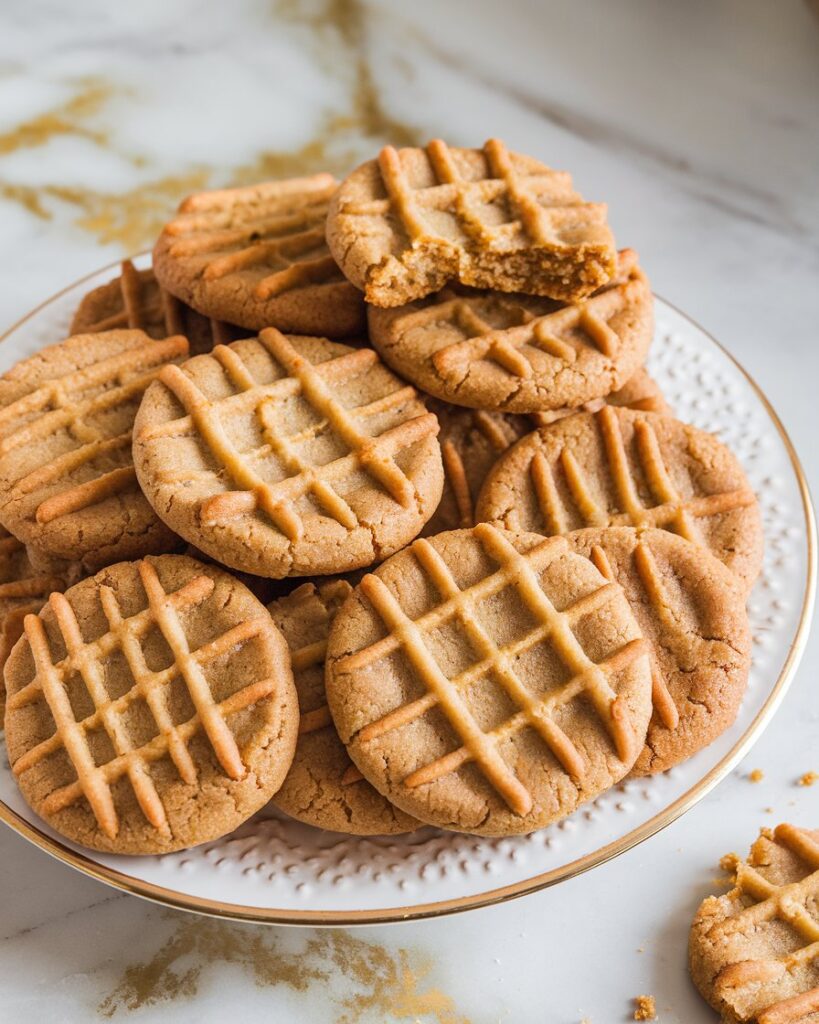
They come out soft in the middle, just the right amount of chewy, and with that classic crisscross top that makes them look as good as they taste.
I love how the Crisco keeps the cookies light and tender without being greasy, which makes them perfect with a glass of milk or packed up for sharing. Every batch feels simple, nostalgic, and way too easy to keep eating warm from the pan.

Why You’ll Love This Recipe
These Crisco peanut butter cookies strike the perfect balance: soft and chewy inside, lightly crisp outside, and packed with rich peanut butter flavor. They’re easy to make, using basic ingredients you likely already have on hand.
The use of Crisco shortening instead of butter makes the cookies extra tender and helps them hold their shape, so they look as good as they taste.
They’re kid-approved, freezer-friendly, and versatile enough to dress up with chocolate chips or keep classic with just the fork-marked tops. Whether you’re baking for family, friends, or yourself, this recipe is one that never goes out of style.
What You’ll Need
- 1 cup Crisco all-vegetable shortening
- 1 cup creamy peanut butter
- 1 cup granulated sugar
- 1 cup packed brown sugar
- 2 large eggs
- ¼ cup milk
- 2 teaspoons vanilla extract
- 3 cups all-purpose flour
- 2 teaspoons baking soda
- 1 teaspoon baking powder
- ½ teaspoon salt
Pro Tips
- Chill the dough – For thicker cookies, refrigerate the dough for at least 30 minutes before baking.
- Use creamy or chunky peanut butter – Both work, but creamy gives a smoother texture while chunky adds crunch.
- Don’t overbake – Cookies should look slightly soft in the center when you pull them out; they’ll firm up as they cool.
- Press with a fork – That crisscross pattern isn’t just tradition — it helps flatten the cookies for even baking.
- Bake one tray at a time – This ensures even baking and prevents spreading.
Tools Required
- Mixing bowls
- Electric hand mixer or stand mixer
- Measuring cups and spoons
- Spatula
- Baking sheets
- Parchment paper or silicone baking mat
- Fork (for pressing crisscross pattern)
- Cooling rack
Substitutions & Variations
- Flour: Swap all-purpose flour with a 1:1 gluten-free flour blend.
- Sweeteners: Replace half the sugar with honey or maple syrup for a subtle flavor twist.
- Peanut butter: Try almond or sunflower seed butter for a nut-free variation.
- Add-ins: Stir in chocolate chips, white chocolate chunks, or chopped peanuts for texture.
- Drizzle: After baking, drizzle melted chocolate over cooled cookies for a decorative touch.
Make-Ahead Tips
You can prepare the dough ahead of time and refrigerate it for up to 2 days. For longer storage, scoop the dough into balls, place them on a baking sheet to freeze until firm, then transfer to a freezer bag.
When ready to bake, simply place frozen dough balls on a baking sheet, press with a fork, and bake — just add 1–2 extra minutes to the bake time.
Instructions
1. Preheat Oven
Set your oven to 375°F (190°C). Line baking sheets with parchment paper or silicone mats.
2. Cream Shortening, Peanut Butter, and Sugars
In a large bowl, use a mixer to beat Crisco, peanut butter, granulated sugar, and brown sugar until light and fluffy.
3. Add Wet Ingredients
Beat in eggs one at a time. Mix in milk and vanilla until smooth.
4. Mix Dry Ingredients
In a separate bowl, whisk together flour, baking soda, baking powder, and salt. Gradually add to the wet mixture, mixing until combined.
5. Shape the Cookies
Scoop tablespoon-sized portions of dough, roll into balls, and place 2 inches apart on prepared baking sheets. Flatten each ball slightly with a fork, making a crisscross pattern.
6. Bake
Bake for 9–11 minutes, or until edges are golden but centers are still soft.
7. Cool
Let cookies cool on baking sheets for 2 minutes before transferring to wire racks.
Serving Suggestions
These cookies are perfect served warm with a cold glass of milk, packed in lunchboxes, or displayed on a holiday cookie platter. For gatherings, pair them with chocolate chip cookies and brownies for a classic dessert spread.
You can also sandwich two cookies with frosting or melted chocolate for a fun twist the kids will love.
Leftovers & Storage
Store cookies in an airtight container at room temperature for up to 5 days. To keep them extra soft, place a slice of bread in the container (the cookies will absorb moisture from the bread).
You can also freeze baked cookies for up to 3 months; thaw at room temperature before enjoying.
Nutrition & Benefits
While peanut butter cookies are a sweet treat, they also provide protein and healthy fats from the peanut butter. Using
Crisco keeps the cookies lighter in texture while reducing some saturated fat compared to butter.
Moderation is key, but when enjoyed as part of a balanced diet, these cookies make a comforting, family-friendly dessert that doubles as a source of quick energy.
Recipe FAQ
1. Why use Crisco instead of butter?
Crisco creates a lighter texture and helps cookies hold their shape better than butter.
2. Can I make the dough ahead of time?
Yes, refrigerate for up to 2 days or freeze in dough balls for up to 3 months.
3. How do I keep the cookies soft?
Don’t overbake, and store with a slice of bread in the container to retain moisture.
4. Can I make these gluten-free?
Yes, substitute all-purpose flour with a gluten-free flour blend.
5. Are chunky or creamy peanut butter better?
Both work — creamy gives smooth cookies, while chunky adds texture.
A Sweet Treat Worth Sharing
These Crisco peanut butter cookies are soft, chewy, and full of nostalgia — the kind of cookie that makes you slow down and savor each bite.
They’re simple enough for everyday baking yet special enough for holidays and gatherings. With their classic fork-marked tops and melt-in-your-mouth texture, they’ll quickly become a family favorite.
So grab your mixing bowl, a jar of peanut butter, and a little time in the kitchen — these cookies are calling your name.